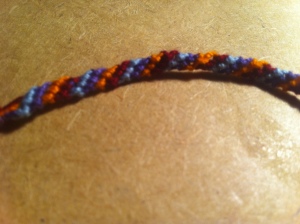
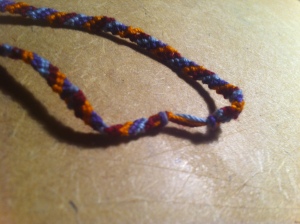
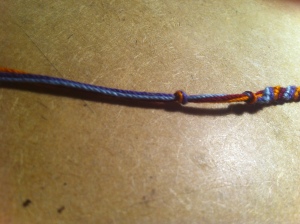
Introducing the Blueberry Grape!

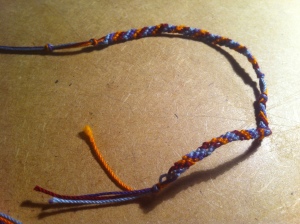
Which is to say, I finished another bracelet. Pictures below!

This slideshow requires JavaScript.

I’m testing something new by using a slideshow. Does this work for you guys or should I just keep posting them as individual shots? Let me know in the comments. In the meantime, keep an eye out for this one to appear in the WCFT shop, which shall happen shortly. I might hang on until I’ve made a few more bracelets so I can do a batch stock, but we’ll see. For now, I’m off to go make another one. They’re quite fun and I’ve found some more colorful string that we’ve had hiding in the crafting closet!

Friendship Bracelets

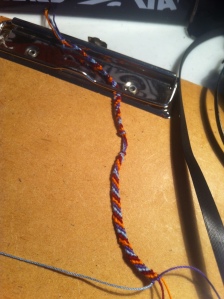
Technically, I should be in the midst of re-sleeving my hoodie like I started to do a couple nights ago…and…then I got distracted by the idea of suddenly wanting to learn friendship bracelets. /o\ I don’t quite understand my brain sometimes. (And actually, I should be searching for a textbook so I can do homework right now but shhhh. I’ll get on that in a moment.)  So I hit up that goldmine of information–YouTube, natch–and I found the channel of user BeyondBracelets, who has quite an extensive collection of tutorials on weaving bracelets neatly organized into playlists ordered by difficulty. So far I’ve practiced the Candystripe, which is what this video teaches–

–and wound up tying it around my brother’s wrist, so he wound up taking it back to school with him. Not bad for a first attempt, though I need to work on finishing them better.

I honestly thought that weaving friendship bracelets would be a lot harder, but provided you just observe a few basic rules, it’s something pretty much anybody could do. And since I have four giant spools of crafting thread that I recently dug out of the garage during spring cleaning (which prompted this sudden interest in bracelet weaving), I have a good feeling I’ll be making lots of them! Which means there might finally be some new products in the WCFT Etsy store.

And that, my friends, is a wonderful thing.

The Bid on a Beaded Bracelet Benefit + “We’ll Carry On.”

First, I meant to announce this as soon as I put it up, but you guys all remember the Zero Percent bracelet post, right? (It wasn’t that long ago!) Looks kind of like this?:

Well, I am pleased to belatedly announce that I have put it up for auction on eBay, and you have until March 20th to decide whether or not to place a bid. 100% of the proceeds from the auction will go to AmeriCares Foundation, Inc. with the hope that whatever money is made from the auction will help make earthquake and tsunami relief in Japan even just a bit easier. If you’re on Tumblr, if you could reblog this post on the subject, it would be super appreciated.

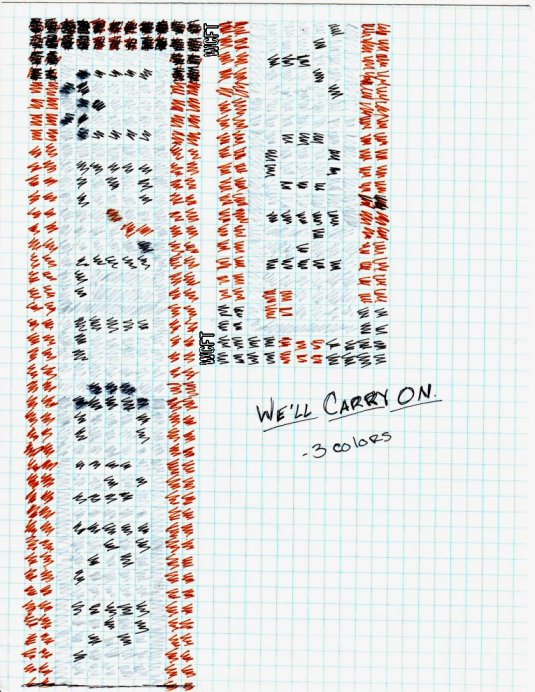
I’m also happy to announce that I’ve completed another bracelet and that it, too, is going up on auction. Rather, it’s already posted, but you won’t be able to start bidding until Wednesday, March 16th (which would be tomorrow). The bracelet looks like this–

–which turned out a lot neater than the initial sketch:

But that’s okay, because as long as the final product looks good, the sketch can look all manner of lived on and lived in, no? At least, I think so…

When the second auction goes live, I’ll post the various ways you can help spread the word. For now, check out the bracelets and leave any questions or comments in the, er, comments section!

New Etsy Listings: Rings

So presently, I have three rings currently available for sale on the WCFT Etsy store! And it only took me a couple hours to decide on a price! XD (No, seriously. Pricing is always the hardest part of making new listings. I had some help with price suggestions and scaled it back a bit from there. If they do well, maybe I’ll go up to the price suggested to me, but we’ll see.) I’ll have up a couple paired rings sets soon; I’m just trying to determine whether I put them under my already existing Jewelry section or under a new From STOC with Love section (which I will likely decide on after I write a Killjoys-themed snippet concerning the idea of “desert pact” rings; ah, decisions!). For now, these are the pieces available, along with links to each listing:

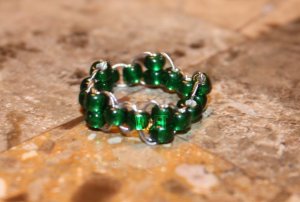
^ Vibrant Green Glass Bead Ring: $5

^ Purple Glass Bead Ring: $5

^ Sky Blue Ring: $5

Remember that you can always click the pictures to see them full-sized, and each Etsy listing (except the green one, I think) has an alternate view. So…yeah. Check ’em out, tell your friends!

With This Ring…

Been briefly distracted from costume designing and mask painting by a strong urge to make beaded rings. It basically sprang up thanks to a book my mom checked out from the library for me called Kids Can Crafts: BEADING Bracelets, Earrings, Necklaces and More. Slight grammatical error in the title and kid demographic aside, this book is awesome. It’s a thin book, but it’s got a lot of projects in it by which I’m muchly intrigued. The instructions are all pretty easy to follow, too.

Best part? It has directions for making a bead loom! I have been wanting to learn how make beaded bracelets in the woven style for-damn-near-ever (because there’s only so much you can do with seed beads), so I’m really glad to find a tutorial on loom-building in this book. Not only that; the book also devotes a few pages to basic weaving and pattern making, which includes showing you how to do letters. I suspect some Dangerverse-themed bracelets will make their appearance soon, especially since Mom brought me some fasteners with which to build said loom.

But that’s not what this post is about! This one’s about rings, which is on page 29 of Beading. I tried to do it their instructed way, with rows of four beads across, and the prototypes wound up being bunched instead of smoothly round–likely due to the fact that I was using 45-gauged wire as opposed to one in the recommended range of 28 to 34 gauge. (Since my mom brought me some of that wire today, too, I’ll give it a shot to the four-across again.) However, I gave it a shot with a one-two-one pattern, along with a different way of holding the wire when I pulled the bead down, and it’s working great so far. Pictures and more after the jump.

More

San Japan Prep: More Jewelry

Yet another picture-heavy post! Click each picture for a closer view.

I wanted to start off with a better picture of the longer steampunk necklace from my last post. I was looking over the shots I’d taken yesterday and realized you can’t really see the bead patterning all that well in any of them. So, to make up for that, I offer a really good view of it. Behold!

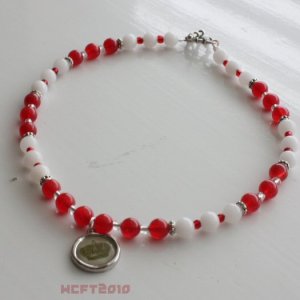
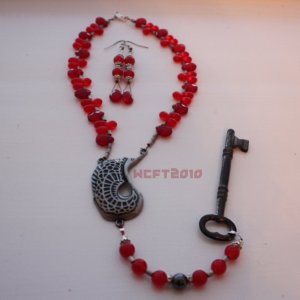
Next up is the jewelry set I put together for my Little Red Riding Hood costume. First, a group picture…

Followed by closeups! First the necklace:

Then the bracelet…

And the earrings!

Tomorrow I plan to head out to the mall for some shopping for some much-needed costume items. I also have to fix and wash a pair of gloves I’m wearing with this costume. I also think I’ll probably spend tomorrow playing with makeup, so that I know which items to take with me as opposed to the entire box. It’s a pretty big makeup box!

San Japan Prep: Jewelry

This is really mostly a picture-heavy post. All of the pictures can be clicked on to see them bigger. At some point, hopefully tomorrow, I’ll have pictures of the capelet, the waist cincher and a couple of other nifty things–provided I don’t get distracted by taking bizarre pictures of myself! I’m in one of those phases…

Steampunk:
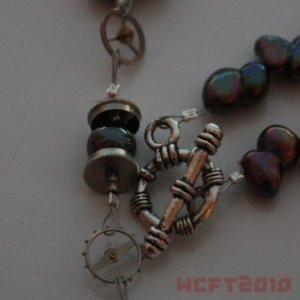
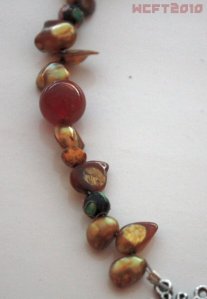
As I mentioned in the last post, I bought a little bag of watch parts from Time & Materials on Etsy. They’re prices are good and they shipped pretty swiftly! If I wasn’t worried I’d be cutting it so close, I would probably buy some of the other neat stuff to make my (still currently conceptual) steampunk pistols look even more awesome. However! What I did buy went a long way towards making some spiffy jewelry. See below, starting with the earrings:

I made two necklaces for the steampunk outfit–a long one and a choker. (Sidenote: I am having a little costume anxiety concerning this outfit. Since this is the first time I venture into attempting the style, I’m a little worried my attempt won’t measure up! >.> I’m hoping I can go to the Neo Victorian panel they’re holding at San Japan, but it’s kind of at the same time as a panel they’re holding on zombies… Choices! Ach!)


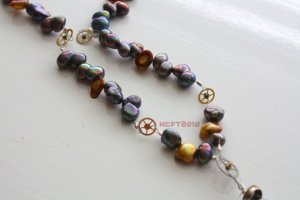
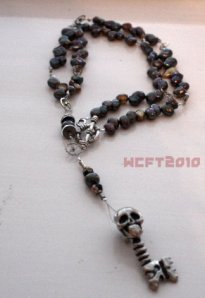
For the long necklace I went with two of the purplish beads, one of the golden yellow beads, two purplish beads, a brass gear, two purplish beads and so on… It took a little figuring out as to how to make it work, as I’d never worked with gears before, but once the way became clear, it was easy street. The only real trick came when I needed to make sure that the skeleton key was facing the right way (outward). The choker provided a length challenge. I’m used to doing necklaces that sit on my collarbone. But I wanted this one to be a choker, so it took a little measuring and figuring out. I’m pleased with the result:

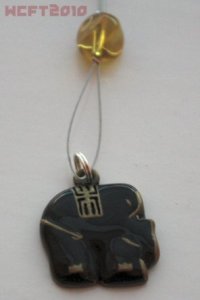
I’m still pondering a bracelet for this outfit. I kind of want one that circles around/under the middle finger of my left hand, that also makes use of the elephant motif going on.

Masquerade:
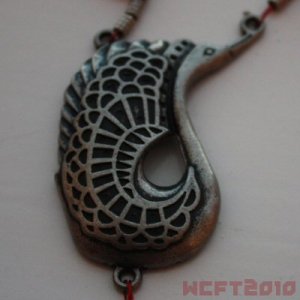
Mu Epsilon Kappa has partnered with San Japan to host the masquerade ball. Sort of bouncing off my Crane Maiden idea, I created the following set:

Tune in next time, when I show off my pretty new capelet, waist cincher and hair band!

A Boxful of Awesome.

If somebody asked me what I like most in the world, I…wouldn’t know how to answer.

But! If they asked me what are two things I like, then I’d have an easier time of it. One is receiving packages and letters. The other is checking Regretsy every few days. If you’re not familiar with that blog, where have you been? It’s a great blend of the strange, the snark, the crafty, and the charitable.

I recently sent the woman who runs the blog, April Winchell, the picture I took of myself with the coffee mug I got for my birthday from this post, with a little bit of fangirling that I tried to make sound as little like fangirling as possible. Just on a whim, I put the url for this blog and my Etsy store.

Cut through several e-mails back and forth to today, when I received this package in the mail:
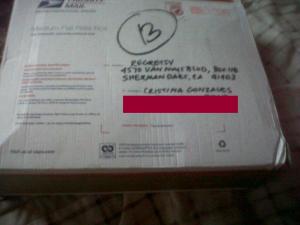
Overlooking that my last name had been spelled with an s (I spell it with a z at the end, but it happens so often that it’s a miracle I don’t make the mistake), I sought my pair of scissors from where I’ve been working on more DIY Postcards. Scissors found and used, this is the sight that greeted me:

Beads. Lots and lots and lots of beads.

Further exploration revealed some flexible wire:

And many other neat things!:
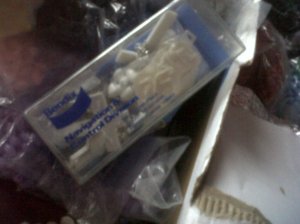
Inside the box, along with a printed collection of pages (the Rosary entry on Wikipedia), there were also three of these foil bundles…

…which unfolded to become larger foil bundles…

…which unrolled to reveal a collection of already-finished rosaries.

I have no idea how April managed to pack all of this stuff inside the box, because I tried to put it all back in for now and it doesn’t fit any longer. XD (Isn’t that how it always works out?) It’s like the birthday presents keep on coming, and I am officially set for beading any number of things (rosary and rosary-type necklaces included), which leaves much more money to spend on Starbucks or something like that.

There’s something of a slightly bigger story behind why I suddenly have a Boxful of Awesome currently sitting on my bed, but it really boils down to coincidences. Coincidences are awesome. Regretsy is awesome. Getting packages is awesome. So really, it boils down to coincidences and awesomeness.

I’ll be sure to keep everybody posted on what becomes of the contents of this Boxful of Awesome. This, plus a kusudama tutorial I found last night on the Folding Trees blog, have given me no excuse to just remain bored!
Tutorial Features

Since I’m between projects at the moment (and I’ve not got many pictures yet to show for it) I figure now is a good time to share some intriguing tutorials I have stumbled across as of late that are on my list of, “I must try these out!” And why should I be the only one? Sharing is caring, so here are a few you might enjoy. Links are in the title of the tutorial.

Gift Tags for Kids to Write On: Just because Christmas was two days ago doesn’t mean gift-giving is over! Not so much a tutorial as a discussion on a good idea of how to get the little kids involved. Unfortunately, the blogger is apparently no longer sharing the PDF file, but armed with a little creativity, that’s only a tiny hurdle!

Candy Sushi: Sushi wa totemo oishi desu! But for those who aren’t entirely crazy the actual Japanese dish, here’s a tasty alternative involving tiny candies, Rice Krispy treats and Fruit Roll-Ups! Totemo oishi, indeed!

Tank Top Totes: Got those tank tops that don’t fit? Get gifted one you wouldn’t be caught dead in this year? Try this two-tutorials-in-one deal and turn it into a stylish purse!

Vintage Earrings Tutorial: Love vintage? Check this tutorial out to see how to get the look without breaking the bank.

What are some of the tutorials that you love? Light up the comments with those links!